Showing posts with label #Ottobre. Show all posts

Thursday, 1 June 2017

4. Monday Basic Raglan T-shirt and Friday Evening Dress. Ottobre

Amazing how a new piece of equipment can change the way and what you sew.

So, it's time that I revisited some Ottobre patterns that I've either used before or have avoided because I hated using a regular sewing machine on stretch fabric.

I revisted Ottobre Autumn/Winter 5/2013 - 4. Monday Basic Raglan T-shirt and Friday Evening Dress. Check out Fans de Ottobre Design blog.

I purchased this geometric fabric and had enough to do the dress and the T-shirt (had to use another fabric for the sleeves in the T-shirt).


I am so much happier with the finish of my stretch garments with my Janome CoverPro, I'm certainly a lot happier sewing stretch fabric.

Happy sewing everyone, I'm tackling a complex coat pattern this weekend.

Sandra

Tuesday, 11 October 2016

Keep yourself decent....


My experience with wrap around dresses is that they fly open in the wind.  Not good, they always fly open at the wrong moment. You may recall I made two of these dresses from Ottobre Design in a previous post, I also needed to make one because my Japanese voile dress was quite see through:


Also, in a recent post I made my go to pattern Simplicity 2371, which also was made of voile, so a half slip was necessary.

I had purchased some stretch silk some time ago for this very purpose from Rathdowne Fabrics. 

Making a half slip is very easy, and no pattern is required.  I have purposely made this slip to sit around 5 cm (2") above my knee.  I don't usually wear my dresses or skirts above my knees, so this suits me.

To make this half slip, I did the following:

1     I measured my hip measurement and added 3 cm ease plus 2 cm seam allowance
2     I decided what my length should be and added 5 cm to this length (2.5 cm for the hem and 2.5            cm for casing for elastic (just remember that the finished length needs to be shorter than your              finished dress)
3     I used the french seam technique to finish the side seams

       (a)   Place right sides of the fabric together (at the seam)
       (b)   Sew a 2/8" seam, trim to 1/8"
       (c)   Press seam
       (d)   Fold the fabric (right sides together)
       (e)   Sew a 3/8" seam
       (f)   Press
5     On the top end, turn over and press 2.5 cm, sew into place and leave an opening to insert elastic,          secure elastic and sew up the opening
6     Turn in side seams and hem and sew around this edge
7     Attach lace (since my fabric was a stretch silk I used a stretch lace) around the hem of the slip.

If my instructions don't make sense to you, here's a visual one from Craftsy.

Had I made the slip at a length below my knee I would have had to leave the side seam open at either one or both side seams.  This opening would give you room to move freely.

Happy sewing everyone.

Sandra


Wednesday, 20 July 2016

Pattern Drafting Wonderland


Well, I've made a commitment. A commitment to work on my pattern drafting for at least the next six months. That doesn't mean I won't keep using Ottobre magazines nor Patrones.  It just mean I want to hone my skills and wear the sort of clothes or styles that are essentially me.

I'm tired of buying patterns, usually, they don't fit and I have to adjust anyway.  The sleeves in patterns are usually too short and so is the neck to waist measurement. So, I always have to adjust anyway.  My, I'm making my body shape sound like I'm a monkey!

I use a pattern drafting system called SitamAB. A number of years ago I did some study in pattern drafting.  Getting back to it is hard.  I tend to use a mix of this system and knowledge from traditional pattern drafting.  It's going to take me a while to get the hang of things again.

I have been wanting to make a shirt for a while.  I guess I was inspired again by the final episode of The Great British Sewing Bee. In this episode contestants made a men's fitted shirt. I obviously wanted a women's fitted shirt with a sleeve placket done in the same way as this episode, and french cuffs on the sleeves to accommodate cuff links.

Cuff links on a women's shirt? You'd want cuff links to if you had bought these vintage cuff links:


So, I really liked the way a placket is done on a men's shirt.  I'd never done this before.  Good old Google found me the perfect set of instructions at http://www.threadsmagazine.com/item/25307/how-to-make-a-precision-placket/page/all  the first placket took a while, but, oh, the second sleeve placket came together so, so much more easily.

Here's the first placket:


Eat your heart out The Great British Sewing Bee, actually thank you, for being an inspiration.

Google, Google you are a sewists dream come true, we are able to ask questions and get answers to our many questions; we are able to tap into other people's experiences.  What a grand time to be sewing.

Here is my toile, yes, I know it's not in calico.  My first one was, and I was about to do it in calico again after I'd made some adjustments; but, in the corner of my room lurked a piece of cotton twill I'd destashed and decided "what the heck, if I mucked it up, too bad and if it worked - bonus!"

So, here's the toile, I do need to make some minor adjustments to the pattern, but I am happy with it:


Now to make another...

What have you been challenging yourself with?

Happy sewing.

Sandra


Monday, 30 May 2016

Ottobre Design Woman Spring/Summer 2/2015


I got bored with trying to make little things to create a blog post every week.  It's fun to do little things, but, it lacked a challenge.  Working full time, with an hour each way travel to and from work, I do find it hard to complete a dress a week.

Ah, the good old days, living at home and sewing my going out dress for Saturday night and finishing just as I was about to leave the house on Saturday night.

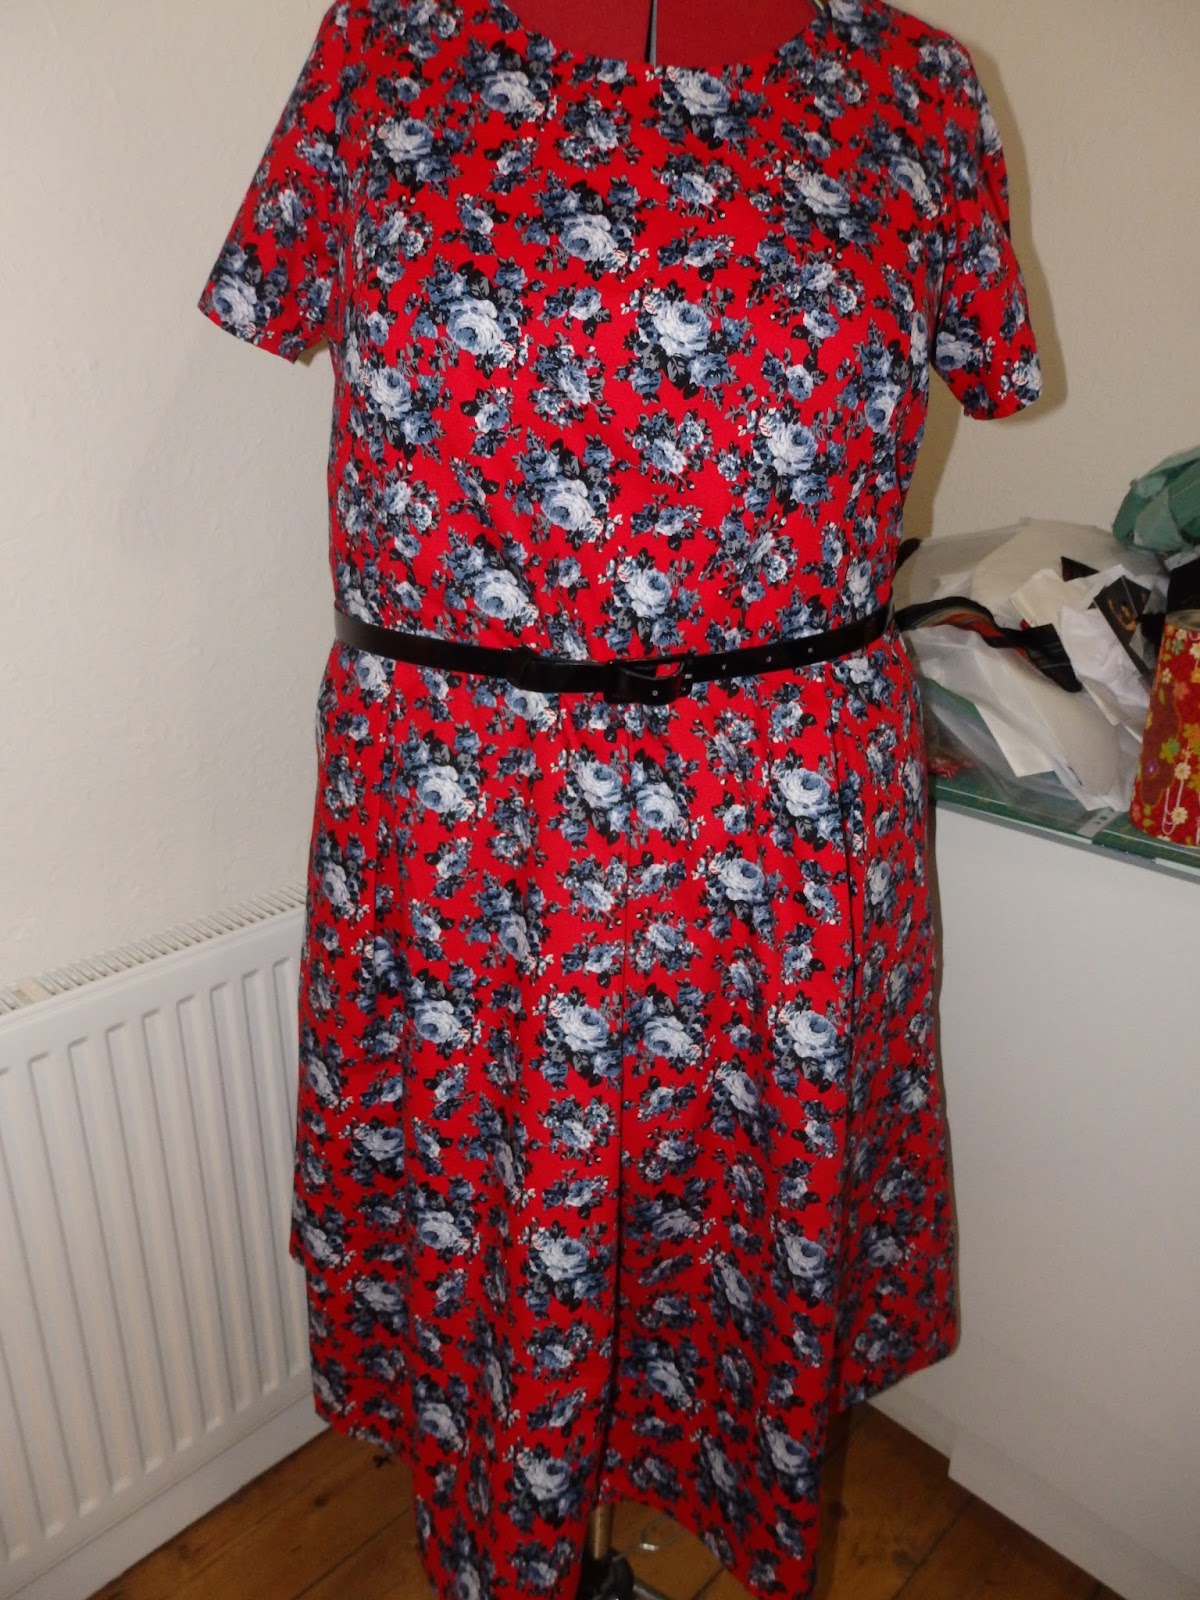
Some time ago I made adjustments to this pattern to cater to my figure.  It appears, with age, my midriff has expanded, so, my measurements are the same for my bust and my waist. The other thing I added was a short sleeve.

I wanted a dress that was light, but one that would also keep me warm during winter.  Hence the reason I opted to stay with a fully lined dress.  I paired it with a belt that helps to create an elusion of some form of a waist.

Our winter days can often start off cold and gradually warm up to a point that it feels like you are doing a strip tease throughout the course of the day.

I am happy with the fit.  Perfect on the shoulders and very comfortable to wear.  It's red, it's bright, makes me feel good on a drab winters' day.  Especially in Melbourne when Winter is just a code word for wearing black!

Are you like me and calculated that there are seven months until Christmas?  Did you realise you'd have to start making your Christmas gifts very soon?  I did.

Happy sewing everyone.

Sandra


Sunday, 7 February 2016

Ottobre Woman 2/2006 Design 2 - T shirt

I think I have a hate/hate relationship with stretch fabric.  It's not something that I enjoy the feel of.  Like anything, if we don't enjoy coffee, we make a poor cup of coffee.  If we don't like cooking the meal is just average not great.  There must be an intrinsic love of your medium.  I just don't love stretch fabrics, and so, my struggle to work with it.  I acknowledge that the fabric doesn't need ironing; new stretch washes so easily, but still, I do not love it.

On this occasion I needed new tops. I choose three stretch fabrics in white, red and yellowish/green. Intention that I would get them done in a day.  I purchased these from #super_cheap_fabrics on #Sydney_Road. I made the one in white and have undone around the neckline four times.  On the fourth try, I decided that I would just live with it.

The twisted mess:


This pattern calls for a neck binding, I tried this, it was a twisted mess.  Decided to then turn the binding inwards, looked no better.  Unpicked this, then tried a stay stitch around the neckline, a bit better, not great.  I unpicked for the final time, decided to create a facing that was interfaced, it looks better, it's stretched.  I'm not undoing it again.  I've just got to live with it.

Fourth and last attempt at the neckline:


Well, it's still stretched a bit, but, I will live with this version and use this technique on the next top.

I still haven't made the two other tops, I need therapy after the first one.  Need to work with cottons and silks again, much more soothing and predictable.

Besides finally adding a facing to the neckline, I lowered the neckline from the original pattern to give it another look.

Happy sewing everyone.

Sandra


Monday, 25 May 2015

Sherri. Ottobre Design Woman. Autumn/Winter 2010 Style 15

This project would have been finished sooner, had work and renovating not got in the way!  That's just the way it is at the moment. I guess it's not about the race to finish clothing; but, the journey to the end.

As I've expressed in the past, my need is to improve my winter wardrobe. 

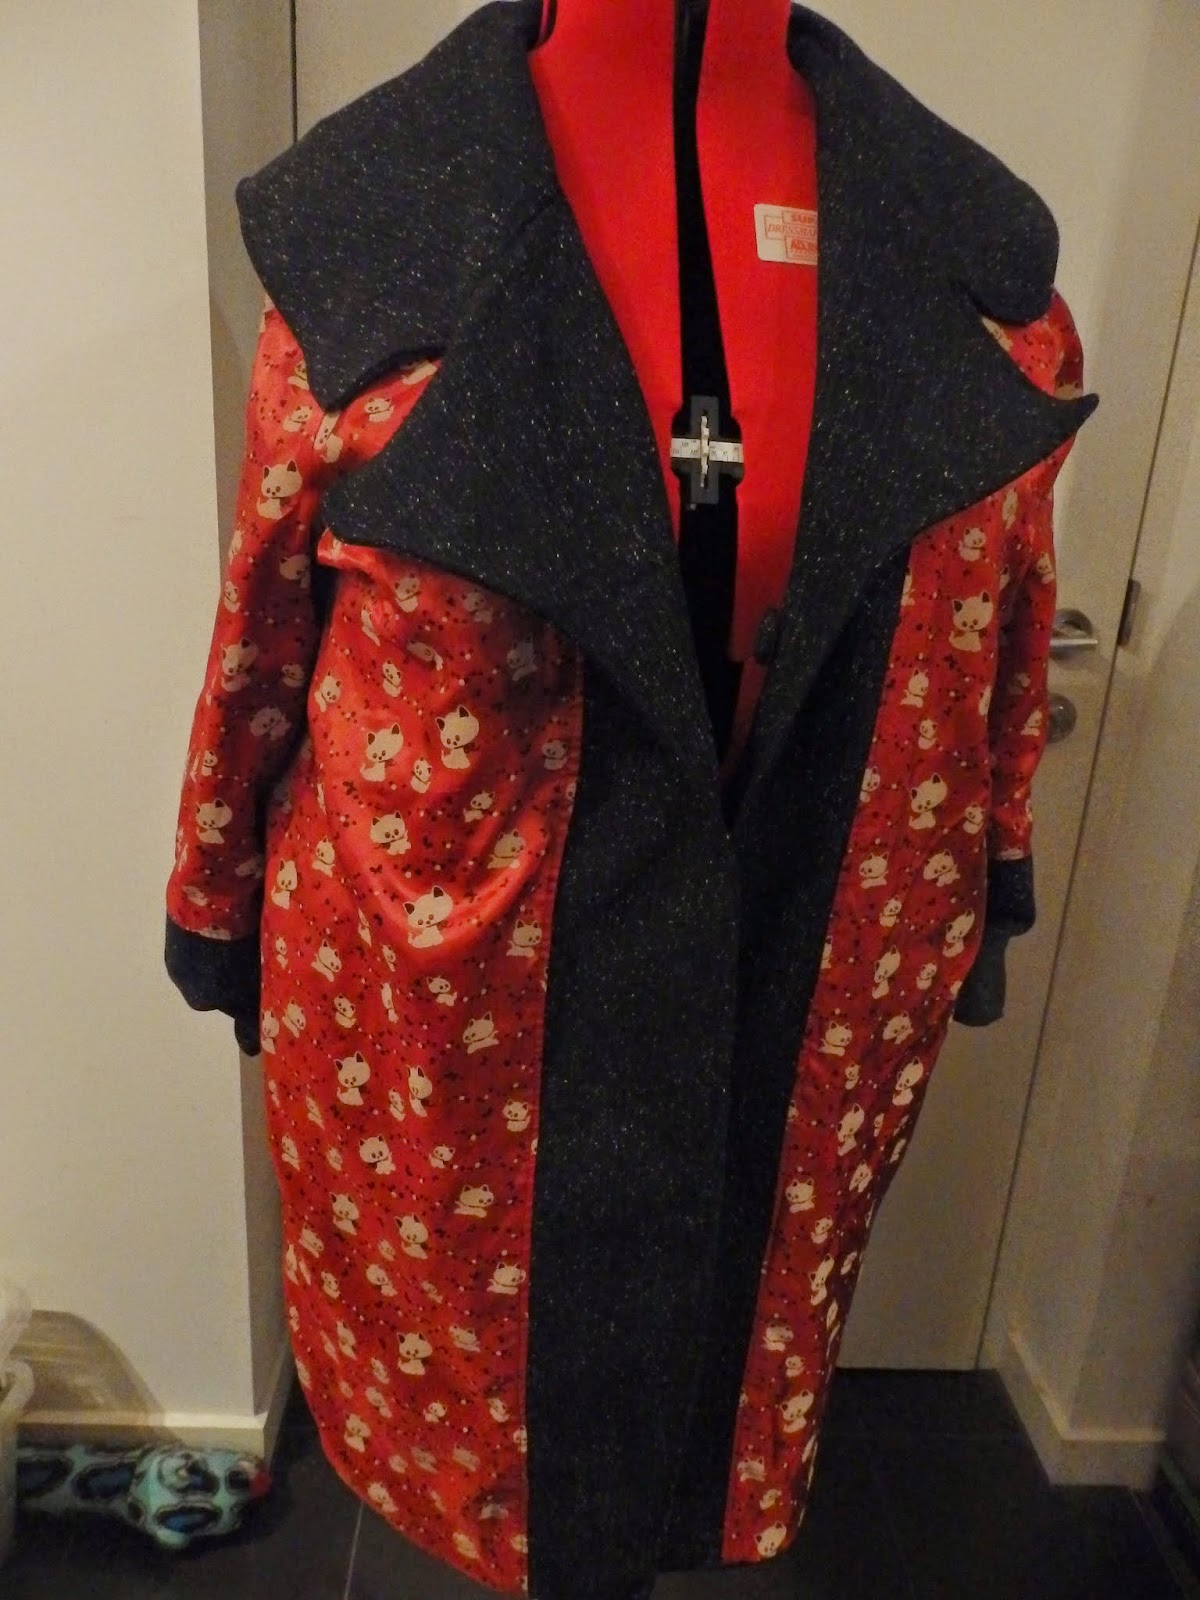
I liked the coat, Sherri, Style 15 in Ottobre Design Woman. Autumn/Winter 2010.

I sat on it a while before following through wondering how it would look on me. Finally, I cut it from a black wool fabric with white specks through it.


My lining is a cat motif fabric that I purchased from the Alannah Hill outlet shop in Fitzroy, Melbourne, Australia. (Secretly, I want to purchase a whole roll of this, but lack of space at the moment prevents me from doing so.) Aren't the cats cute?


I love the cat motif fabric so much, I almost think that this should be the outer layer and not the inner one - but then, I could rightfully be accused of being a 'mad cat lady' (but we don't have any real cats at the moment in our household).  I like the lining on a jacket or coat to express a playfulness, be it a burst of colour or a fun motif.  There is nothing better than the compliment or smile that lining brings to someone else.


It kind of works with the lining as the outer layer, don't worry, this is the coat inside out!

What I loved about this pattern was the ease at which it comes together. I have sewed for a very long time and never tried to do an encased lining.  Love it, love it, love it  -  no hand sewing!

So here it is the right way around:


Ottobre, you've done it again, I love the fit for a larger woman.

Happy sewing everyone.

Sandra

Sunday, 26 April 2015

Ottobre Design Woman Autumn/Winter 5/2013 Style 3

I've made this top before, out of a linen.  It wasn't a recommended fabric, but I did it anyway.

After an opportunity shop adventure with my friend Joanne, I found a lovely red viscose fabric that I thought would be ideal for this pattern.  Now, don't turn up your nose at venturing into an opportunity shop (second hand store). I used to, I no longer do.

You see, I discovered that, like me, many people would donate good quality 'stuff' to charities. I know when mum and dad died and we were clearing the house for sale, that we knew we couldn't keep everything and donated a lot of good quality gear to them. So, if we donate quality 'stuff', then other people do as well. Plus, these places exist to sell second hand items and use the money to help people less fortunate.

What I tend to find is, that most family members, when they see that their loved one has passed on, will quickly dismiss sewing gear, fabric and patterns and either throw them out or give them to a second hand store.

So, here are the photos of the Leo Bohemian blouse in linen:


Here it is out of this red printed viscose:


Conclusion? It works better in the recommended fabric.

We live and learn.

Happy sewing everyone.

Sandra

Sunday, 19 April 2015

Ottobre and Melbourne Black


In Melbourne, Australia; it is customary to wear black.

Sometimes I go along with this, however, mostly I like a splash of colour amongst the drab of Winter.

A couple of years ago I had a clear out of my Winter wardrobe, So, I had a need to replenish the wardrobe for this season.

So, I began with remaking this Ottobre Design 2/2014 Style 10:


 I used these nifty zips on the sleeves:


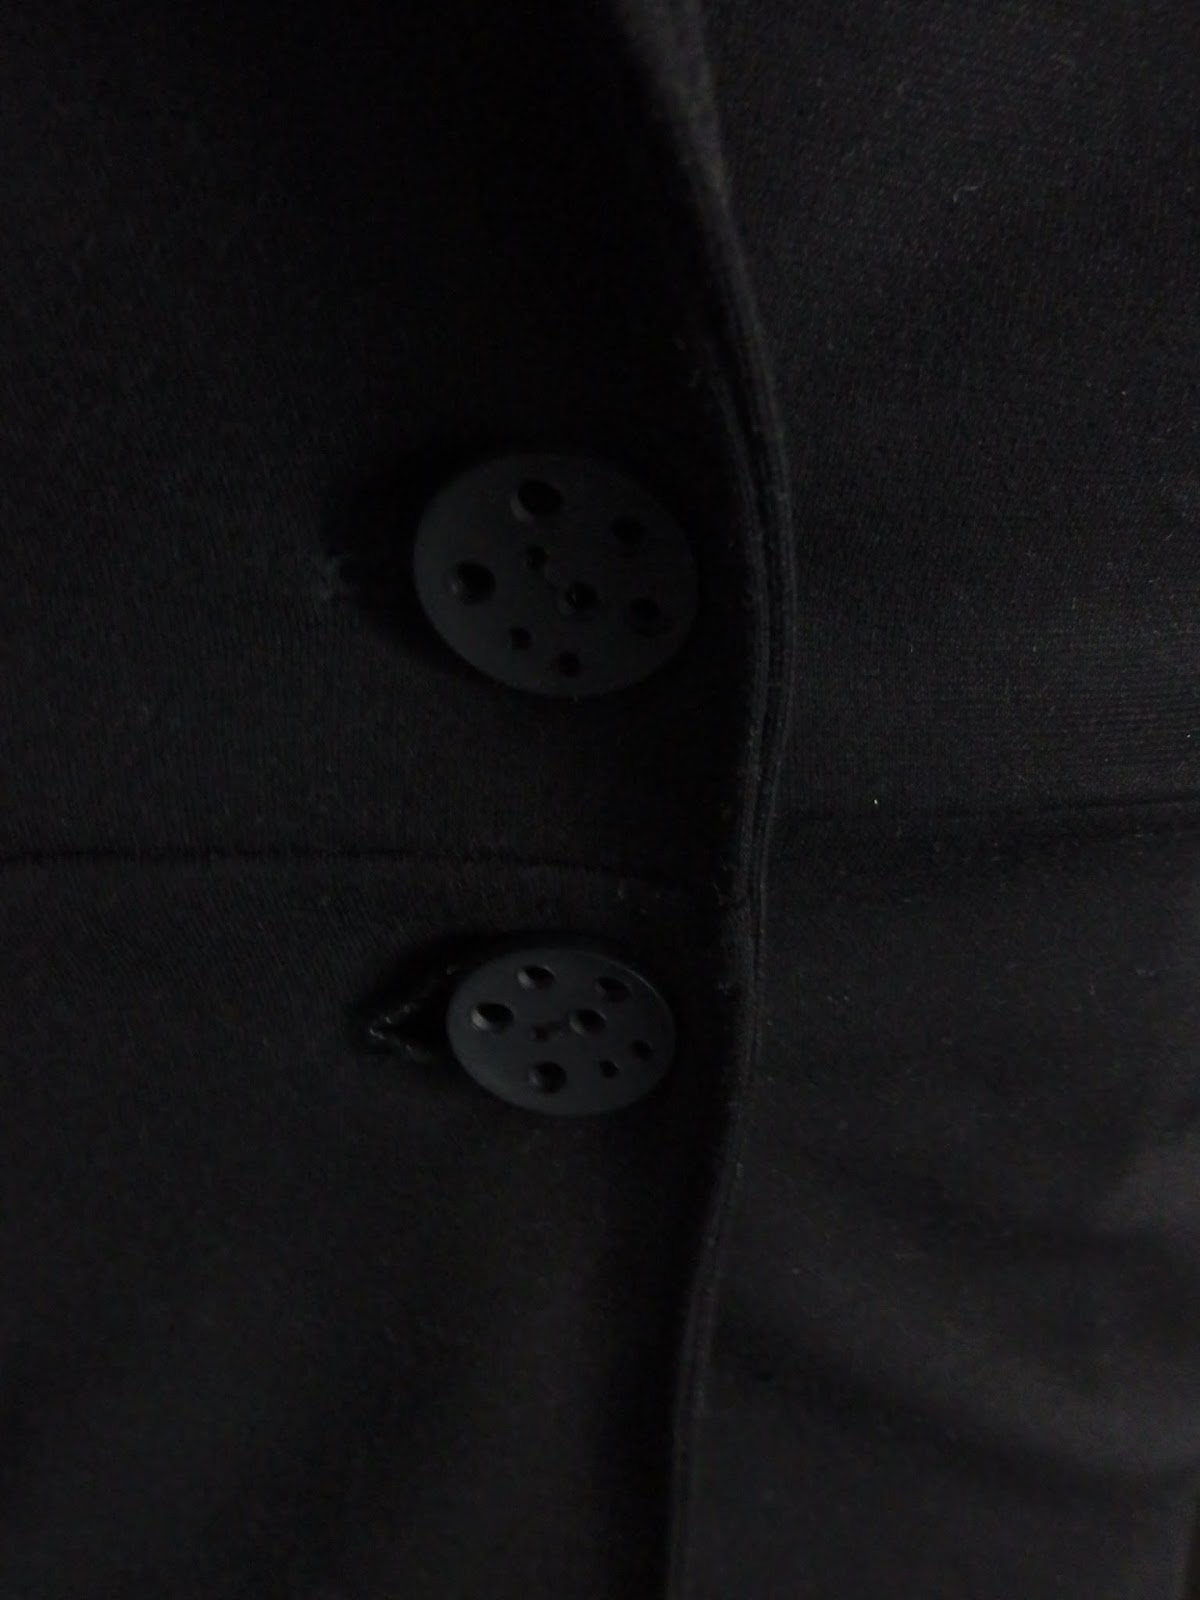
 And these buttons on the front:


I also made this Ottobre Design, Autumn Winter 5/2013 Style 4 again (mm, may need a slip underneath):

Still not too sure of this design, but, I added a necklace:


Paired it with the blazer:

I also made a skirt, also jersey, but this time I used a drafted A Line skirt pattern that I like to use.  I didn't add seam allowance as the original pattern is for a woven fabric.


Now, I need to get moving on adding some colour to my wardrobe.

Happy sewing everyone.

Sandra

Wednesday, 8 April 2015

Simplicity 2371

Excuse the fact that I didn't iron the dress before I took a photo.  Just was too eager to capture me.

This Simplicity pattern, is simple, but effective and comfortable to wear.

The fabric is a cotton print purchased from Spotlight.  It is a copy of an aboriginal print.

It looks like I purposely put the stripe of blue to one side.  However, truth be told, the fabric was narrow so, there was no room for error, nor any room to fussy cut the design.  So, I had to let it all just happen, and to my surprise it all matched up in the end.


I have found that sometimes it's best not to over think something and just go with the flow.

Happy sewing everyone.

Sandra

Saturday, 21 March 2015

Ottobre Autumn/Winter 2013. Style 4 Raglan Sleeve Friday Evening

I'm not a big fan of stretch fabric. I find it a bit uncontrollable when cutting.

However, I am very pleased with this dress. With only three pieces to cut to put together and a fabric I bought at a sale at Rathdowne Remnants, this dress cost me $14.50. As I said I am pleased with the result. Fit is good to.  The only adjustment I made to the pattern was to add length in the bodice to suit my measurements.

So, here it is:


Happy sewing everyone.

Sandra

Monday, 23 February 2015

Ottobre Spring/Summer 2/2014

I guess you can always notice when I've gone back to work, my posts are less frequent.  Well, one has to work to fund my sewing habit!

A colleague at work gave me a piece of poly cotton fabric that she purchased from India. At first I thought it may become a skirt; but, I just wasn't feeling it.

I'd been wanting to make Style 15 from Ottobre Spring/Summer 2/2014 (in the magazine it is made out of linen):


Here it is made out of the gifted fabric:


Like everything I like about Ottobre, it comes together easily and fits well. Only thing is, I think I need to make a pair of pants to go under it!

Happy sewing everyone.

Sandra

Wednesday, 21 January 2015

Ottobre...I love you

Over a year ago I was introduced to the magazine Ottobre Design.  I love this magazine because I like the fit of the outfits once they are complete.

I now subscribe to this magazine, but lately I have been 'exploring' back issues.  I purchased Ottobre Design spring/summer 2/2007 as I liked design 10 Wraparound dress.  However, there are three things I didn't like about what was in the magazine (sorry Ottobre):  the fabric choice, the tie around the waistline and the sleeves:


I must apologise for the poor photo, I had to use my mobile phone and not my camera (I've misplaced the cord to the camera).

So I decided that there could be three possible changes that could be made to give this dress three possible looks.  For today I will show you two different changes I have made.

In my first dress made from a retro inspired print, I have shortened the sleeve (approximately 10 cms from the underarm and squared off) and kept the tie in the same fabric as the rest of the dress, yes it has the collar (but you can barely see it in the picture):


For the second dress (again in green) I did not put a collar on it and again used the shortened sleeve and ties in the same colour as the rest of the dress.  I used a beautiful Japanese cotton voile that I purchased on one of my fabric adventures:


I am happy with the results.  The third style I will make (when we near winter) is a long sleeve version, however the sleeves will be a straight sleeve version.

I've decided to make a half slip to go under these dresses (as wrap around dresses always seem to swing around open in the wind).  I will share that with you next time.

Happy sewing everyone.

Sandra

Saturday, 10 January 2015

Scraps, scraps ... and less scraps

When, a long time ago, I kept my sewing purely to dress making, I could easily get rid of small scraps of fabric.  That was such a long time ago.

Then, later, I also took up patchwork.  Now I can't get rid of the smallest of fabric - because it could be used in a quilt in some form of the other.

Lately, I've been cutting up those bits of fabric and cutting them up into 2", 3 1/2" and 5" squares and putting them aside to use in quilts.  I pinched this idea from the magazine "Quilt Your Stash" (great magazine).  This stash of bits and pieces was building up.  One of the things I'd like to work on in 2015 is reducing my fabric stash.  Making this ironing board cover  was an endeavour to work towards the reduction of fabric.

In my last post I had made a simple ironing board cover for my mini ironing board.  However, my regular sized ironing board was in need of some renovation.

Ah, my regular sized ironing board - my mother's from the 1950's, solid steel - hernia worthy.  I always made fun of this with mum, it's very heavy.  However, I long ago realised that when making evening dresses, that modern ironing boards did not meet the grade and tended to topple over with the weight.

When my wonderfully stylish mum (to the very end) passed away- here's a picture of mum in her hey day, I made the decision to hang onto the ironing board:


Ah, when I need to get it out I remember why I probably shouldn't have hung onto it.  We live in an apartment, so I have to continuously take it out and put it away; it's just one of those things that need to remain out all the time. Otherwise it's back breaking work.  So useful though for dressmaking, especially bulky items. So, it's here to stay.

I could have made my ironing board cover in an instant with one piece of fabric. No, I decided I would make it from my 3 1/2" scrap squares. Good thought when I began; "why did I do this?" thought whilst making it; "Great idea" I thought when I finished.  I'II never make one like this again. However, I feel it was worth doing for myself to have a cover with a difference.  I think us sewers are probably good at giving away our work, and sometimes not so good making household things for ourselves.

As I said the cover was made from 100% cotton scraps, so here it is:


The underside is an Ikea fabric, left over from curtains in one of our bedrooms:


All done now, am very happy with it.

Until next week, where I'II show you how one pattern can look so different with two different adjustments from my favourite magazine "Ottobre".  I didn't realise until I looked through my stash how much green fabric I've actually purchased - and it's not even my favourite colour!

I digress, I'II save this for next week.

Happy sewing everyone.

Sandra

Sunday, 14 September 2014

Ottobre Design again

I finished the top to the heart quilt this week and now have moved back to dressmaking.  Some ten weeks ago I cut out a dress, sewed the sleeves and stopped. Just stopped.  I have no reason for this sudden stop in sewing.

So after finishing the Heart Quilt quilt top, which started out as a baby quilt top, will now be a 21st present for a special young woman next year.

"What to do next?; I asked myself. "Finish that Ottobre Design dress", my inner voice replied.

I had purchased this stretch fabric from Rathdowne Remants in Brunswick, Victoria, Australia.  I don't normally fall in love with stretch fabrics; my preference is for natural fibres. This one however, I walked away when I first saw it.  Two days later I returned to purchase this fabric (I knew that if I was still thinking about it in a few days, that I would absolutely have to buy it). And buy it I did.

So, +Ottobre Design Woman Autumn/Winter 5/2013 arrived (sometime ago) and I knew that style 17 Transition wrap around dress would be used with this fabric.

It's not quite finished, but you get the general idea.  I have not added the ties and finished the neckline, hem nor hemmed the sleeves. So it's pinned onto the mannequin.

Below is a close up of the fabric:


I love Ottobre magazine, the fit  of the patterns is impressive and so are the many techniques.  Down side, I've become lazy and don't feel a need to pattern draft dress patterns.

I'd love for Ottobre to release an issue that includes some evening wear.

Give this magazine a try, if you haven't already done so.

Happy sewing everyone.

Sandra